Merge Config
What this covers
Merge Config copies selected configuration from one tenant into another with a full diff review before applying. It's designed for selective, path-by-path changes rather than replacing a whole file. For full file replacement, use Deploy Config instead.
Step 1 — Select the source
Pick the source tenant from the deployment pipeline accordion, then choose the config file to merge from the grouped domain tree.
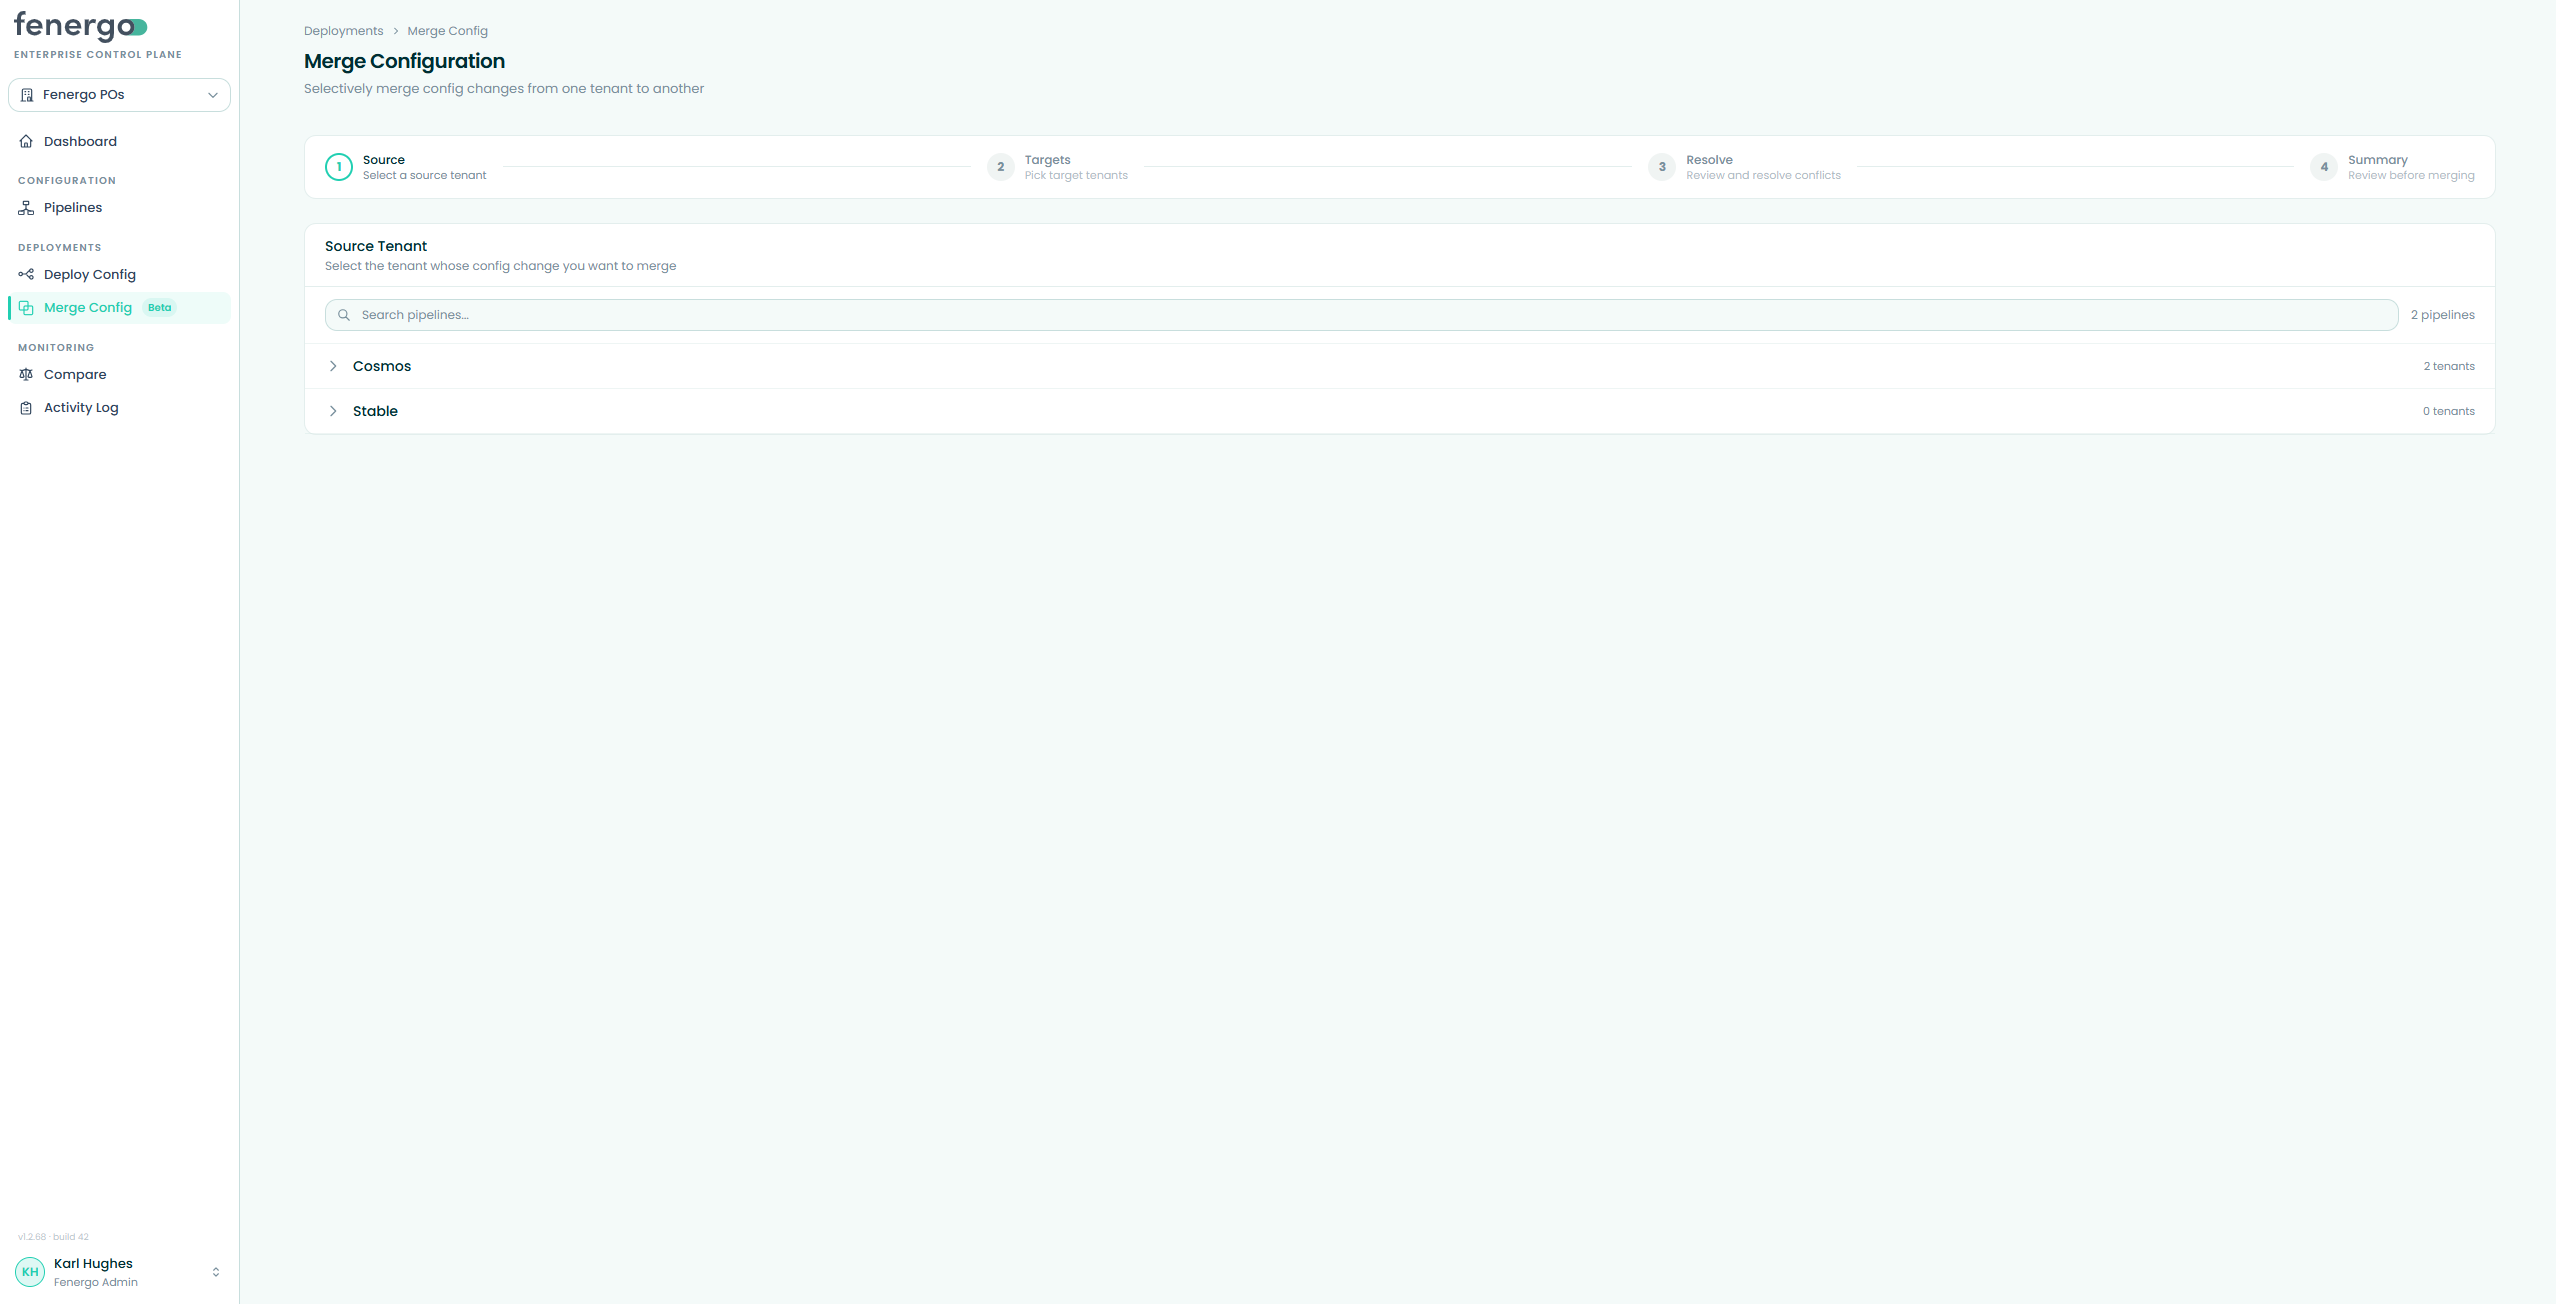
Domains that are too complex for a surgical merge are shown but not selectable, because tenant-specific IDs make a deep merge unreliable. Use Deploy Config for those.
Step 2 — Select the target(s)
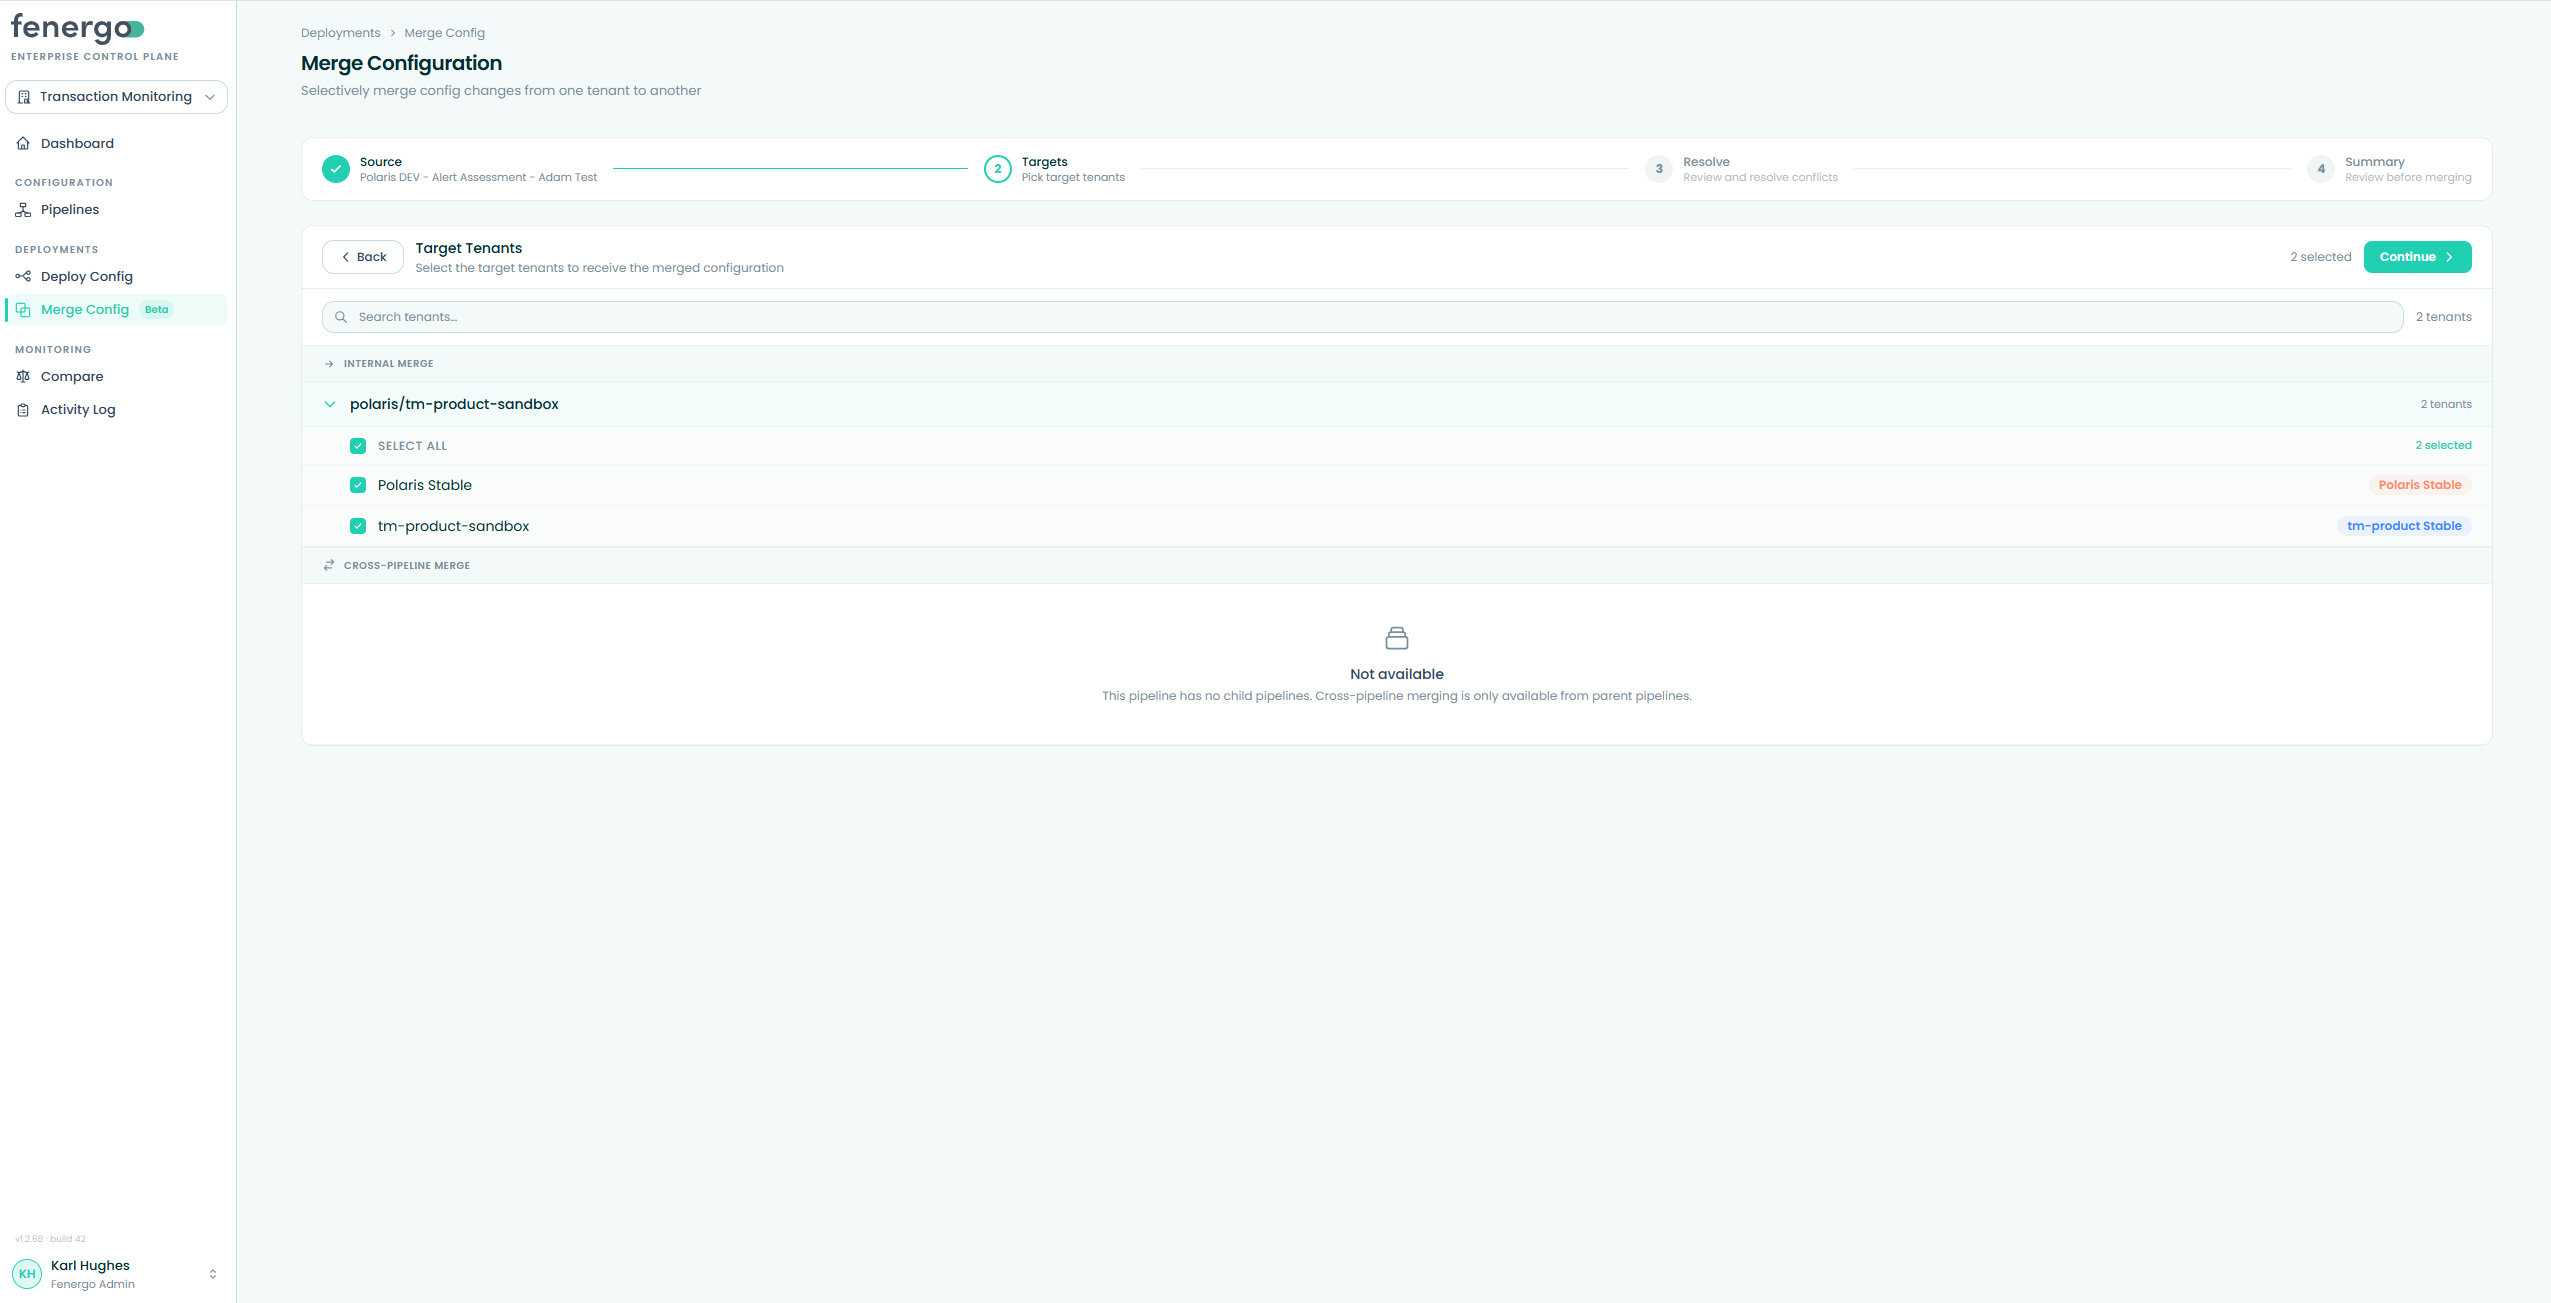
Select one or more target tenants from the deployment pipeline accordion, grouped into Internal Merge (tenants within the same pipeline) and Cross-Pipeline Merge (tenants in a child pipeline). The source tenant is excluded, and you can use Select All to pick every tenant in a group at once. The target selector also supports search by tenant name.
Step 3 — Resolve conflicts
When you continue from target selection, ECP syncs the relevant sub-domains on the source and all selected target tenants before computing the diff. The Resolve step then shows conflicts for each selected target as a table: File Path, Current Value in Target, Incoming Value from Source, and an Action column with Accept and Reject buttons per row. A target shows Merge conflicts resolved once every row has been actioned.
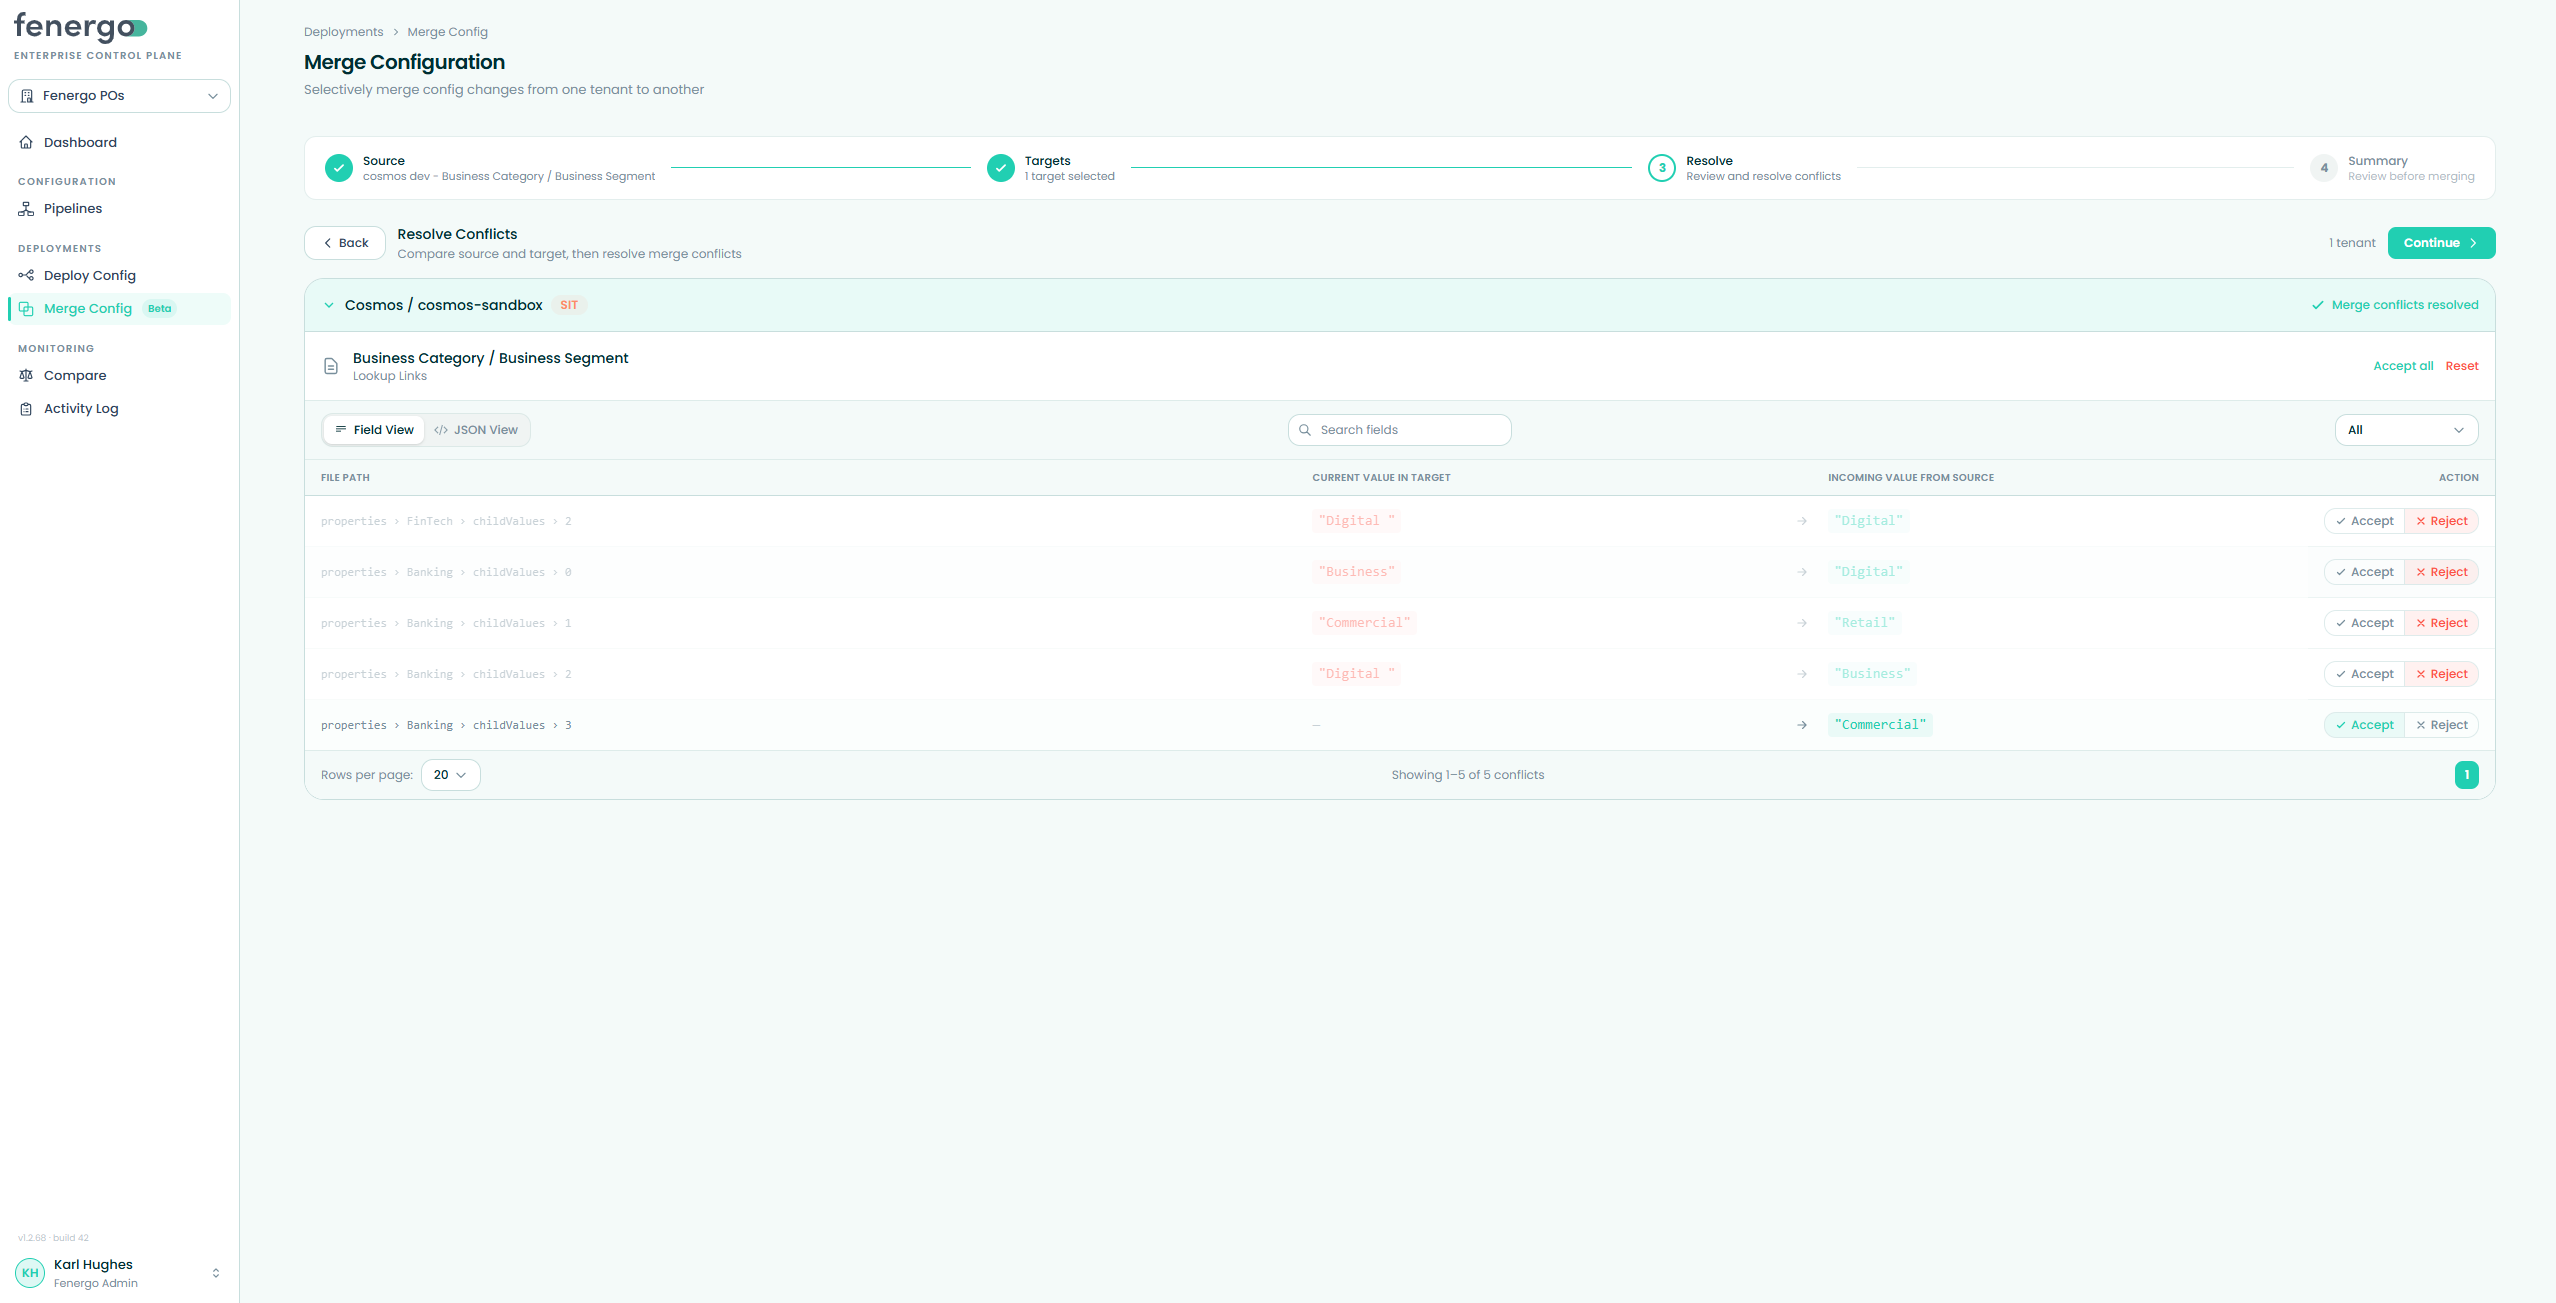
Use the view toggle above the table to switch between:
- Field View — presents each changed path as a labelled row, making it easier to scan individual field values without reading raw JSON.
- JSON View — shows the full raw JSON with syntax highlighting, useful when you need context around a change or are working with deeply nested structures.
Resolving conflicts
- Click Accept on a row to take the incoming value from the source.
- Click Reject on a row to keep the current target value.
- Use Accept all or Reset from the panel header to action every row at once.
- Use the search box and the filter dropdown to narrow a long conflict list, and the row-count selector to change how many rows are shown per page.
Choices are made path by path — there's no free-text inline editor.
Applying the merge
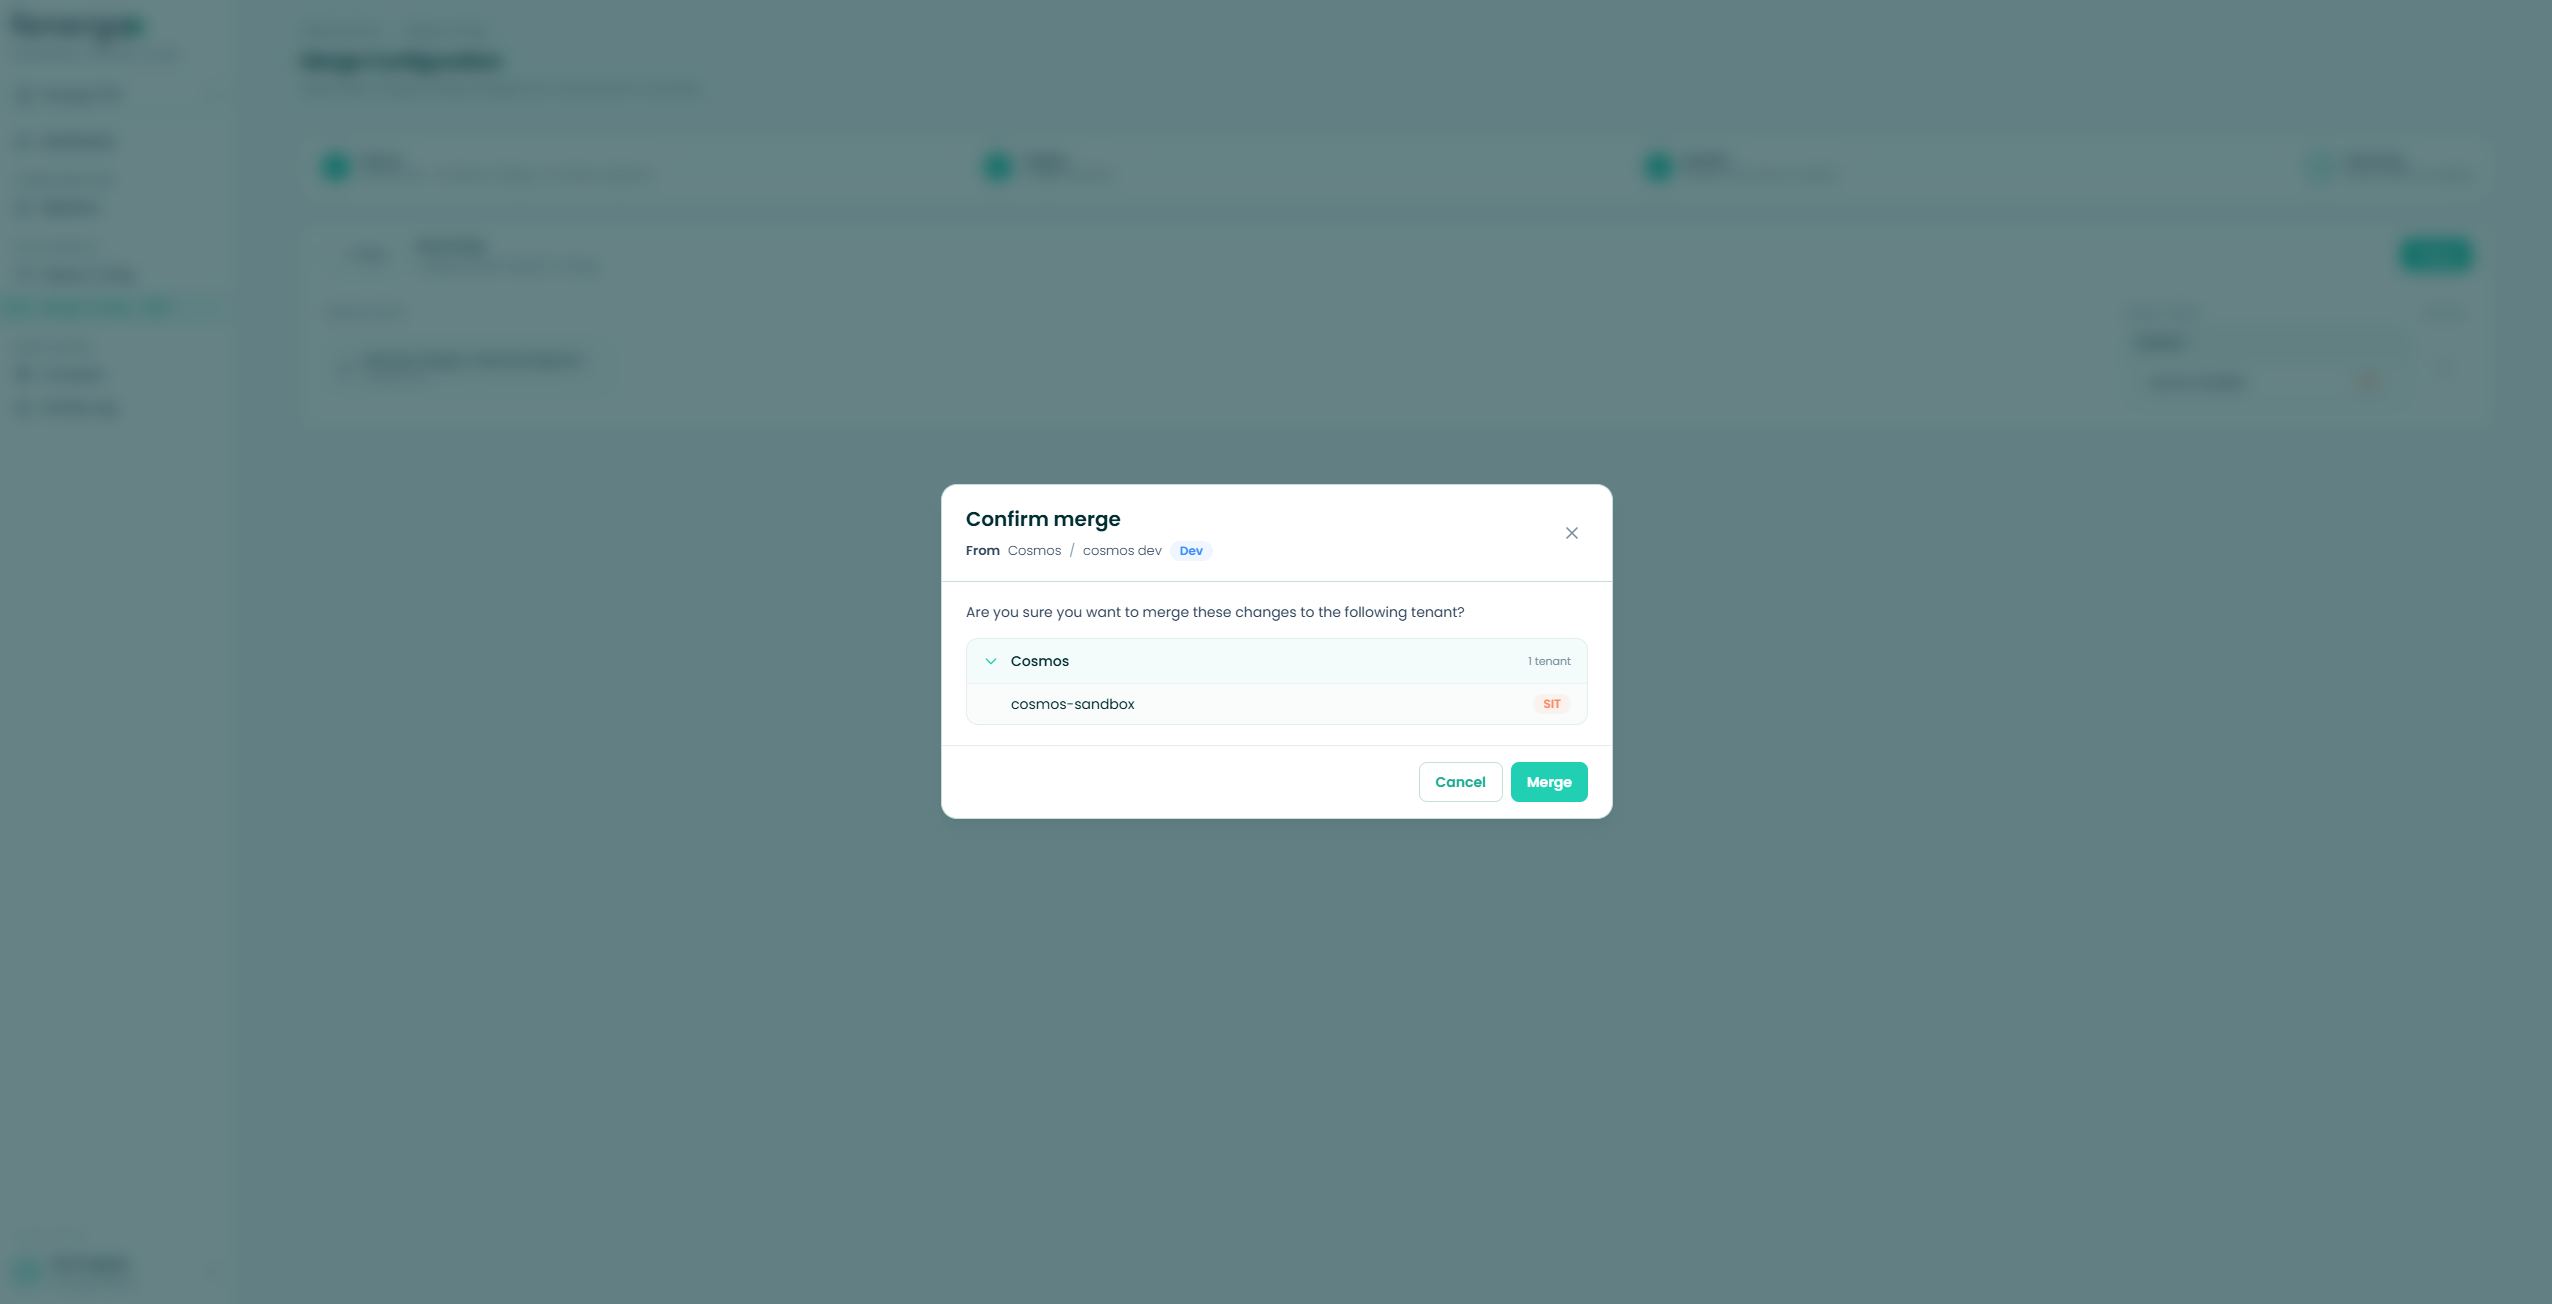
Once all conflicts are resolved, continue to the summary, which lists the merged config file and its target tenant(s). Click Merge, then confirm in the modal.
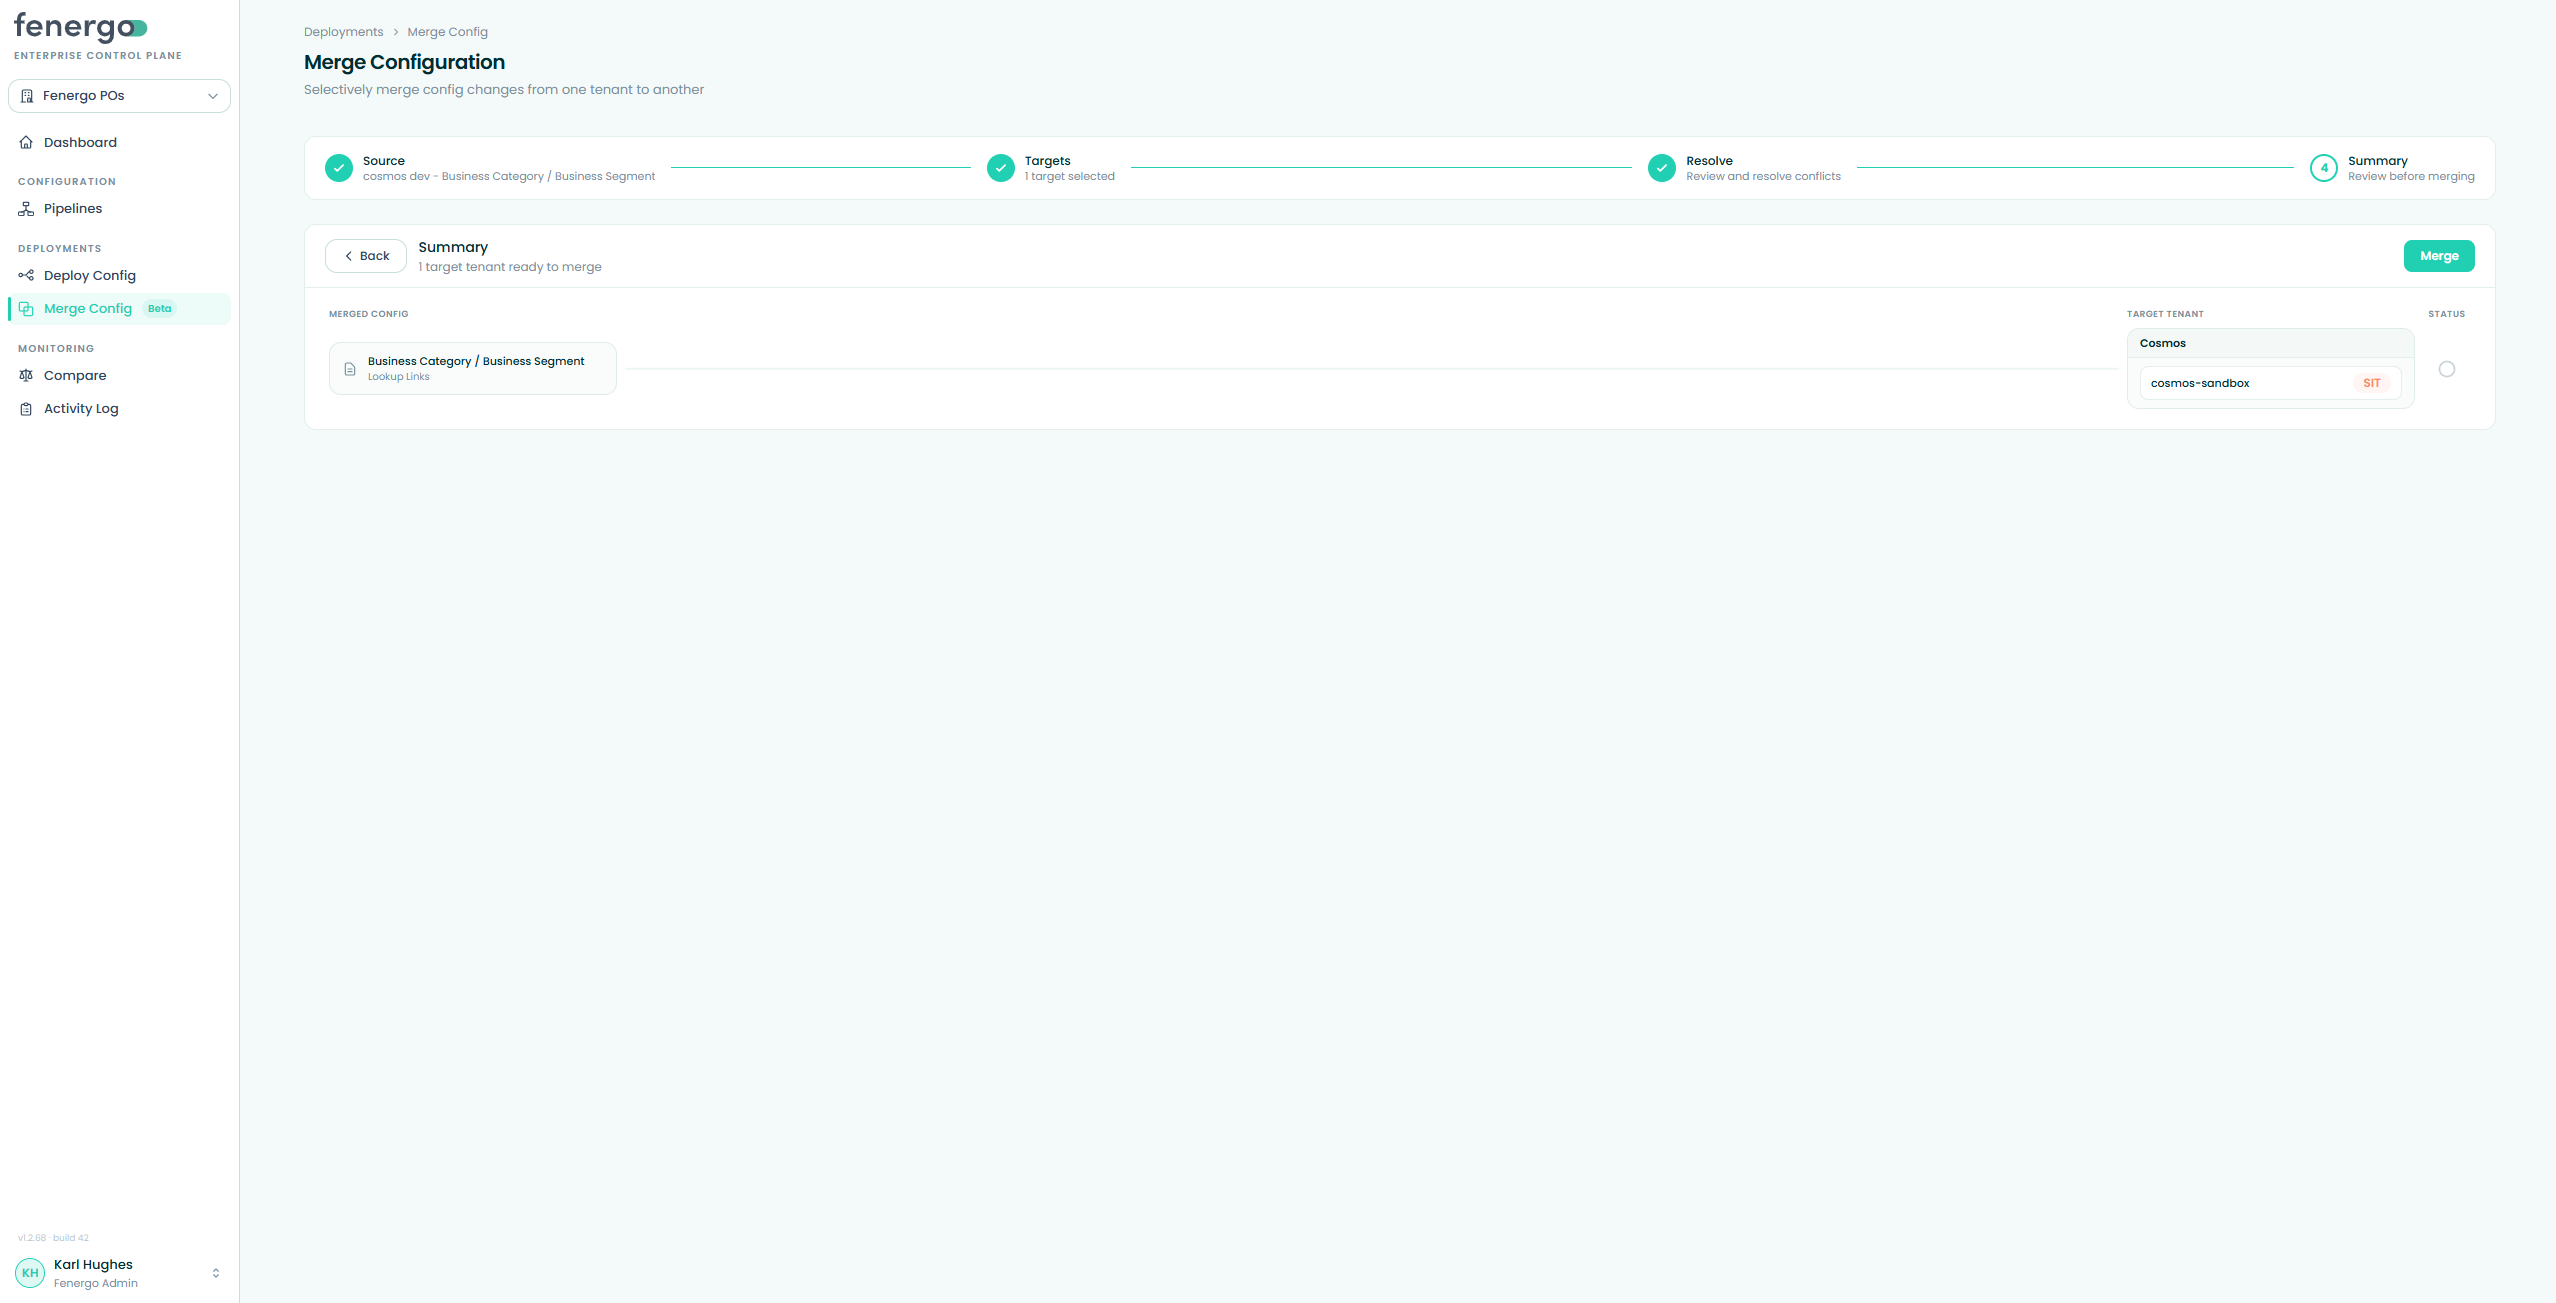
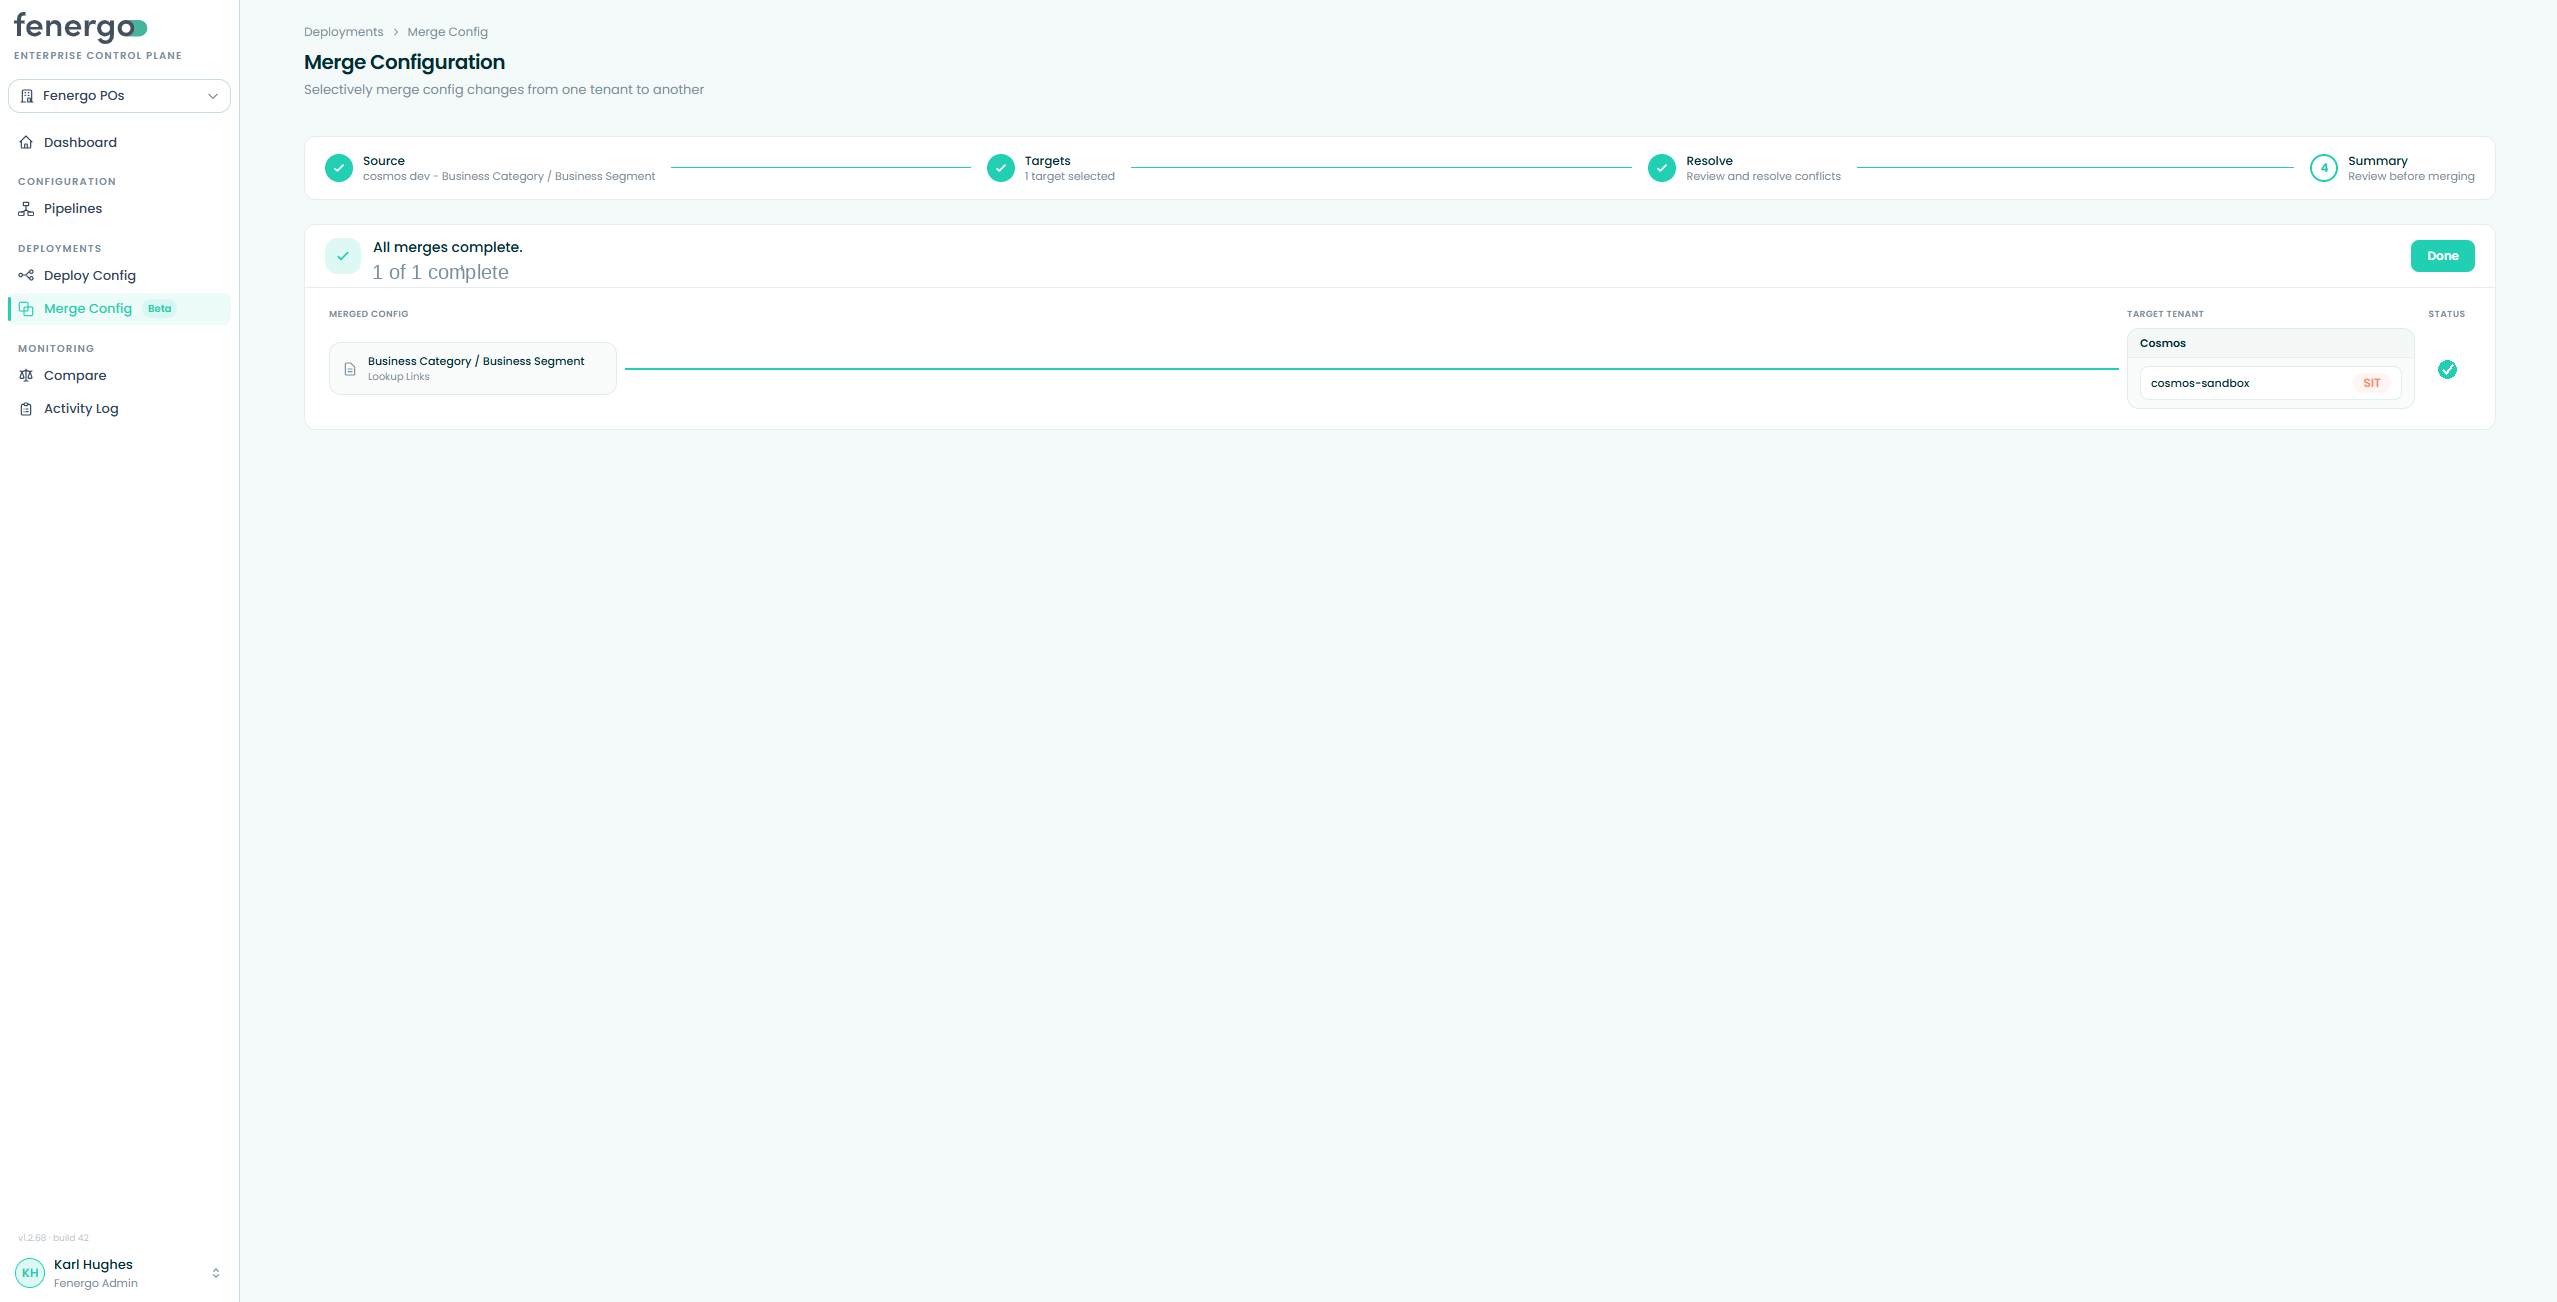
ECP enqueues a merge for each target and shows per-target progress in a fan diagram until each row finishes or fails.
Troubleshooting
| Issue | Likely cause | How to fix |
|---|---|---|
| "Source and target are the same" | The same tenant is selected on both sides. | Pick different tenants for source and target. |
| A config file can't be selected | That domain is unsupported for surgical merge. | Use Deploy Config for full replacement. |
| The Merge button is disabled | No incoming paths selected, or unresolved conflicts remain. | Open each target and choose source or target values until all conflicts are resolved. |