Profile & Admin
Profile
What this covers
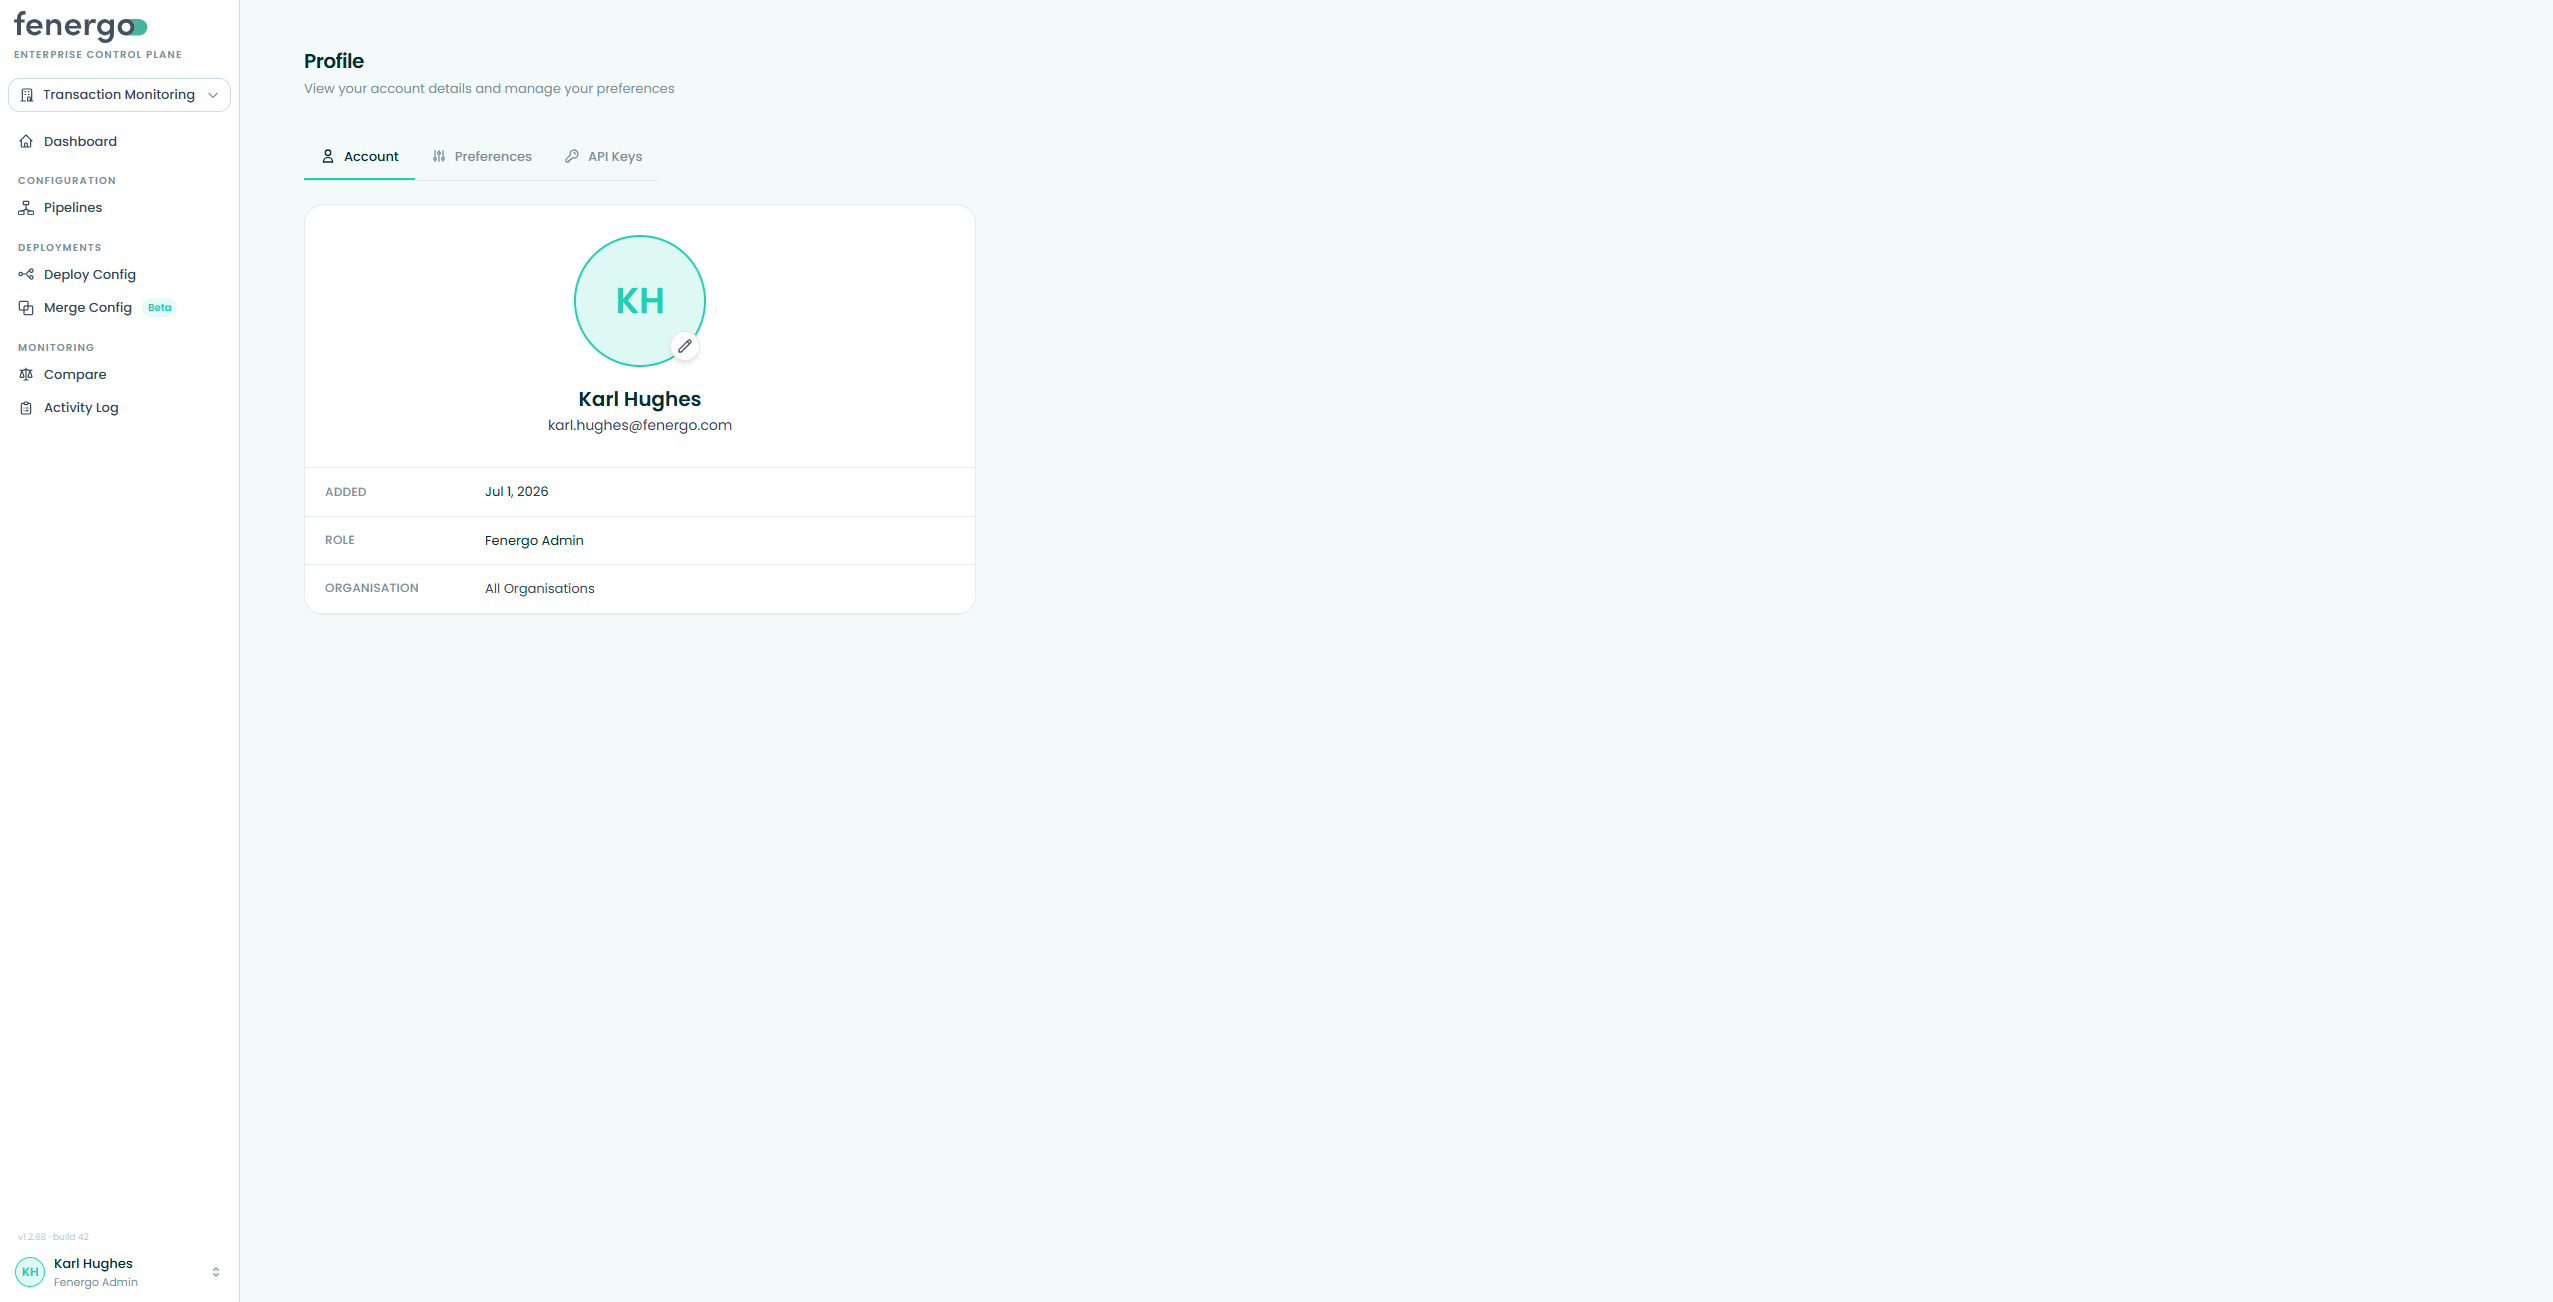
The Profile page shows your account details and personal preferences. It's available from the bottom of the main sidebar and has three tabs: Account, Preferences, and API Keys.
Account tab
Shows your avatar, display name and email, plus a details panel with when you were added, your role, and your organisation. The avatar can be edited directly from this tab. Name and email come from your authenticated session and can't be changed here.
Preferences tab
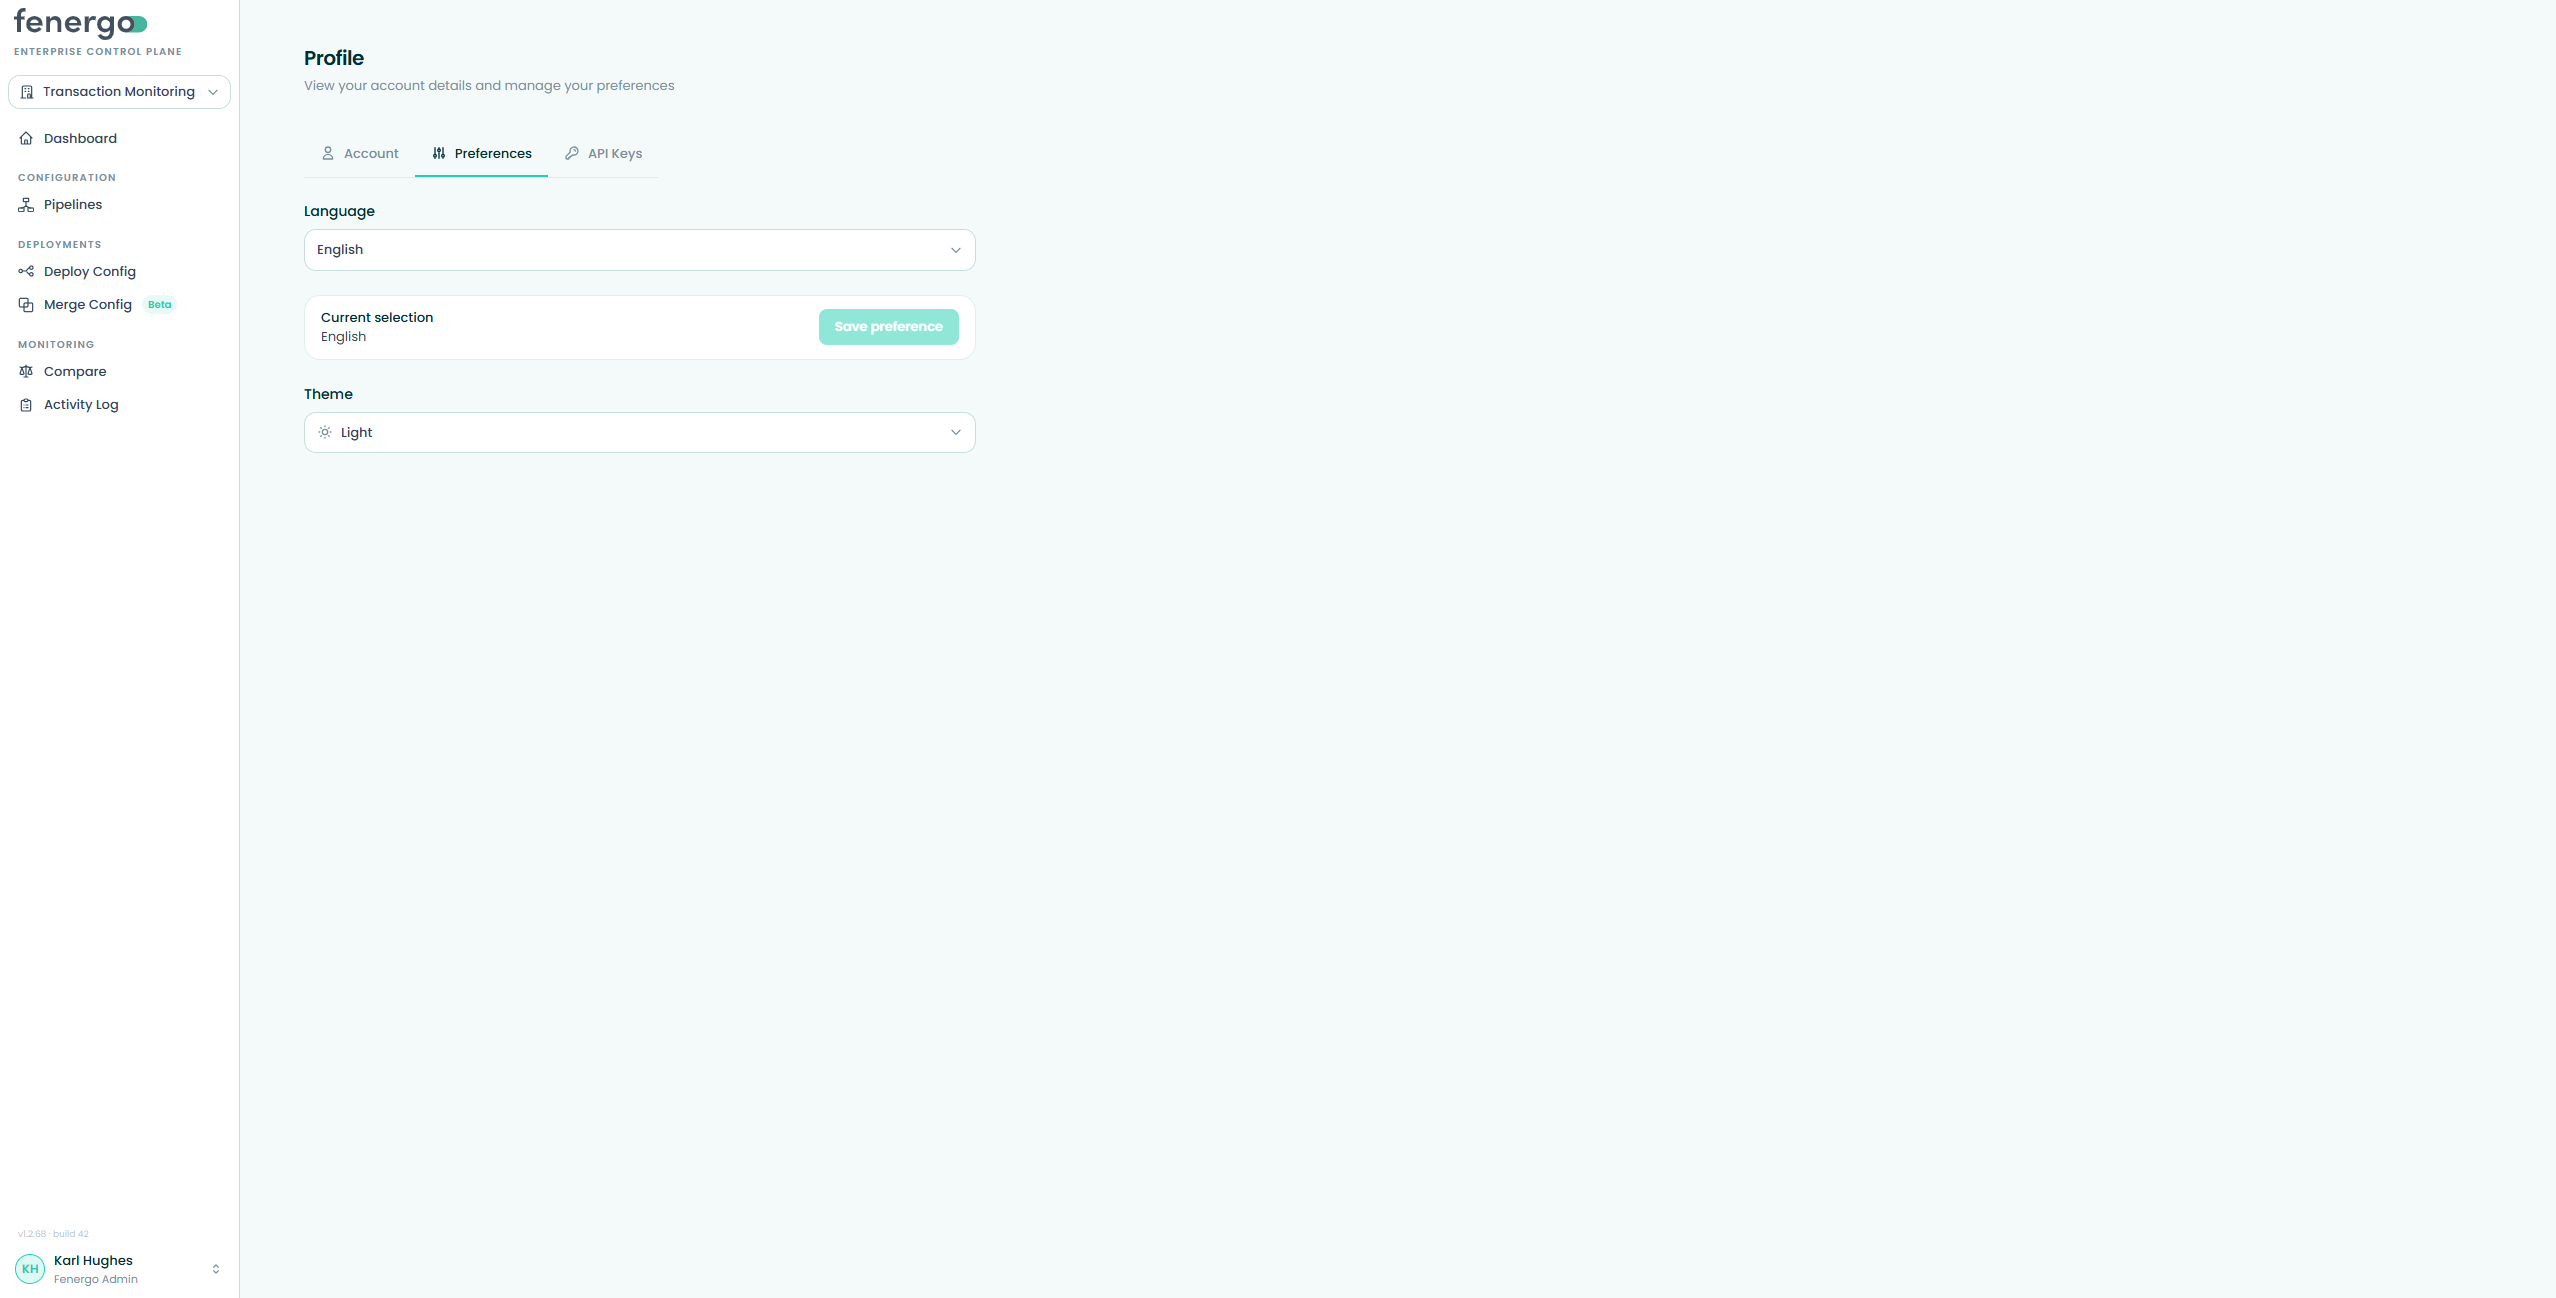
Set your language and theme preferences here.
- Language — a dropdown to select your preferred language. Supported options are English, Spanish (Español), Arabic (العربية), Norwegian Bokmål (Norsk bokmål), French (Français) and German (Deutsch). ECP applies the language and text direction to the document, using right-to-left for Arabic. Your current selection is shown alongside a Save preference button.
- Theme — choose between Light, Dark, Nebula and Neptune.
API Keys tab
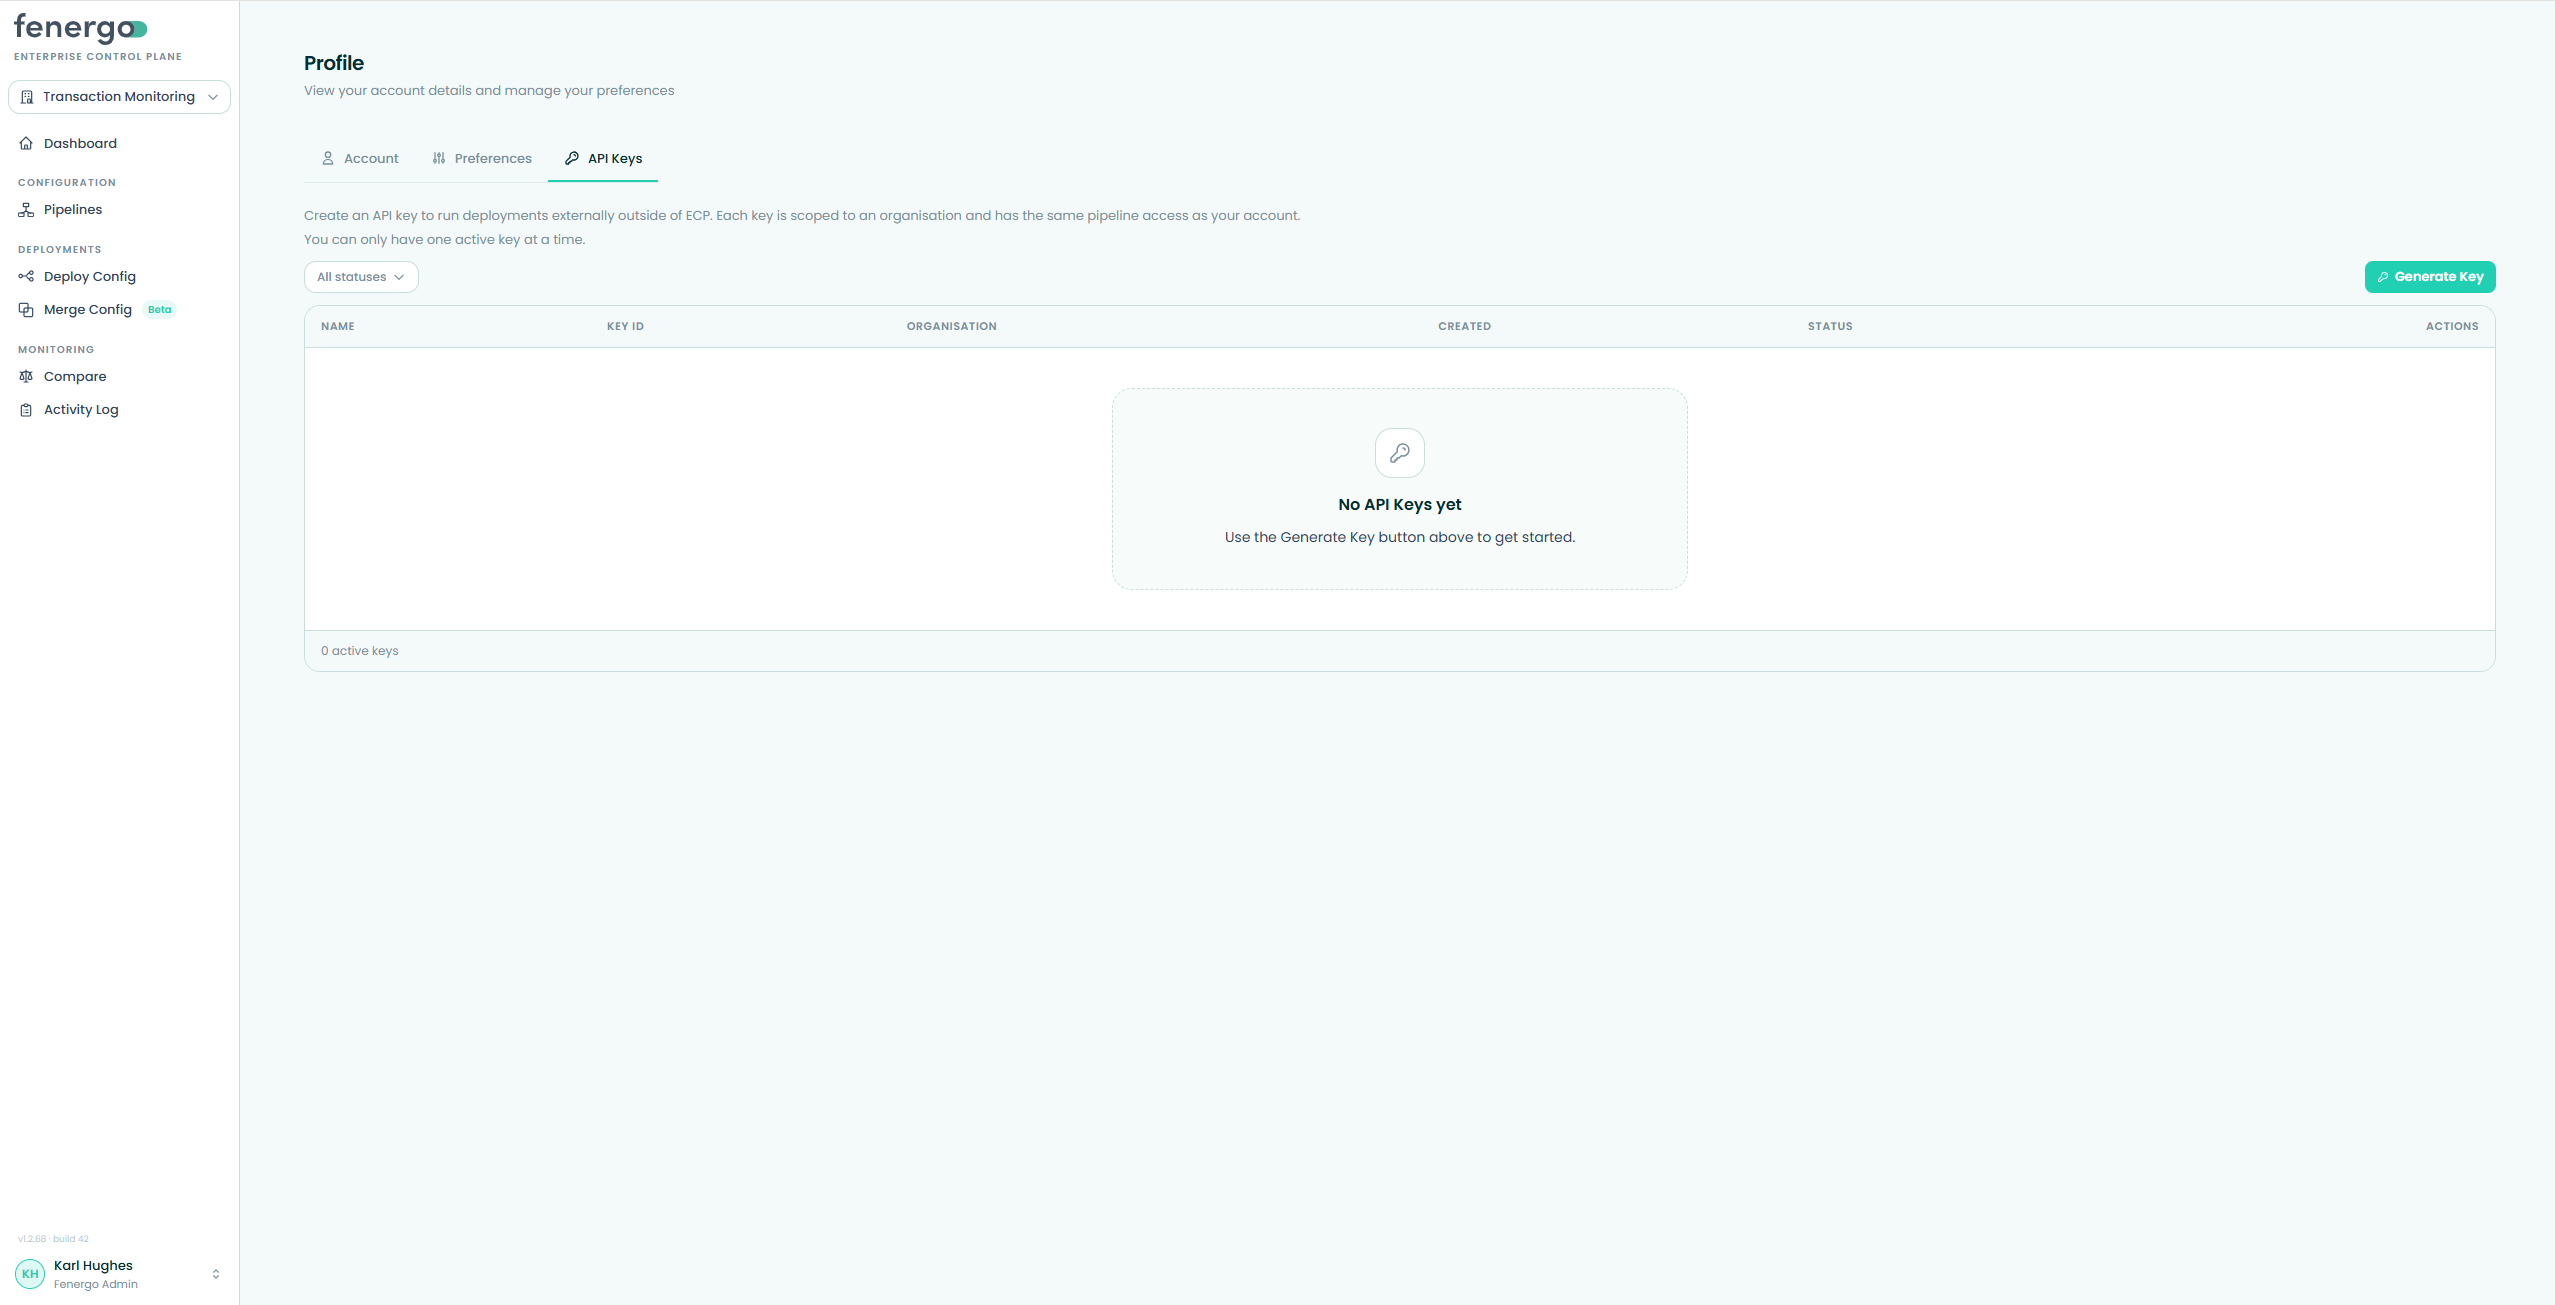
API keys let you run deployments externally, outside of the ECP UI. Each key is scoped to an organisation and has the same deployment pipeline access as your account — it can only act on pipelines you can already access. You can only have one active key at a time; creating a new one replaces the previous.
Creating a key
- Select the organisation to scope the key to, then click Generate Key.
ECP shows the plaintext key once after creation. Copy it immediately and store it in your secret store. If you close the modal before copying, generate a replacement and revoke the unused one.
Revoking a key
Use Revoke when automation should no longer be able to authenticate. Use the status filter to show all, active, or revoked keys. Revoked keys remain visible for audit context.
Admins can view key status for all users in the organisation from Admin → API Keys (see below).
Admin
The Admin area is accessible to Admins and Fenergo Admins from the main navigation. It has four tabs: User Management, Organisations, Environments, and API Keys. Admins see User Management and API Keys only — Organisations and Environments are Fenergo Admin-only.
User Management
Covers inviting users, tracking invitation status, managing deployment pipeline access, and revoking access.
Finding users
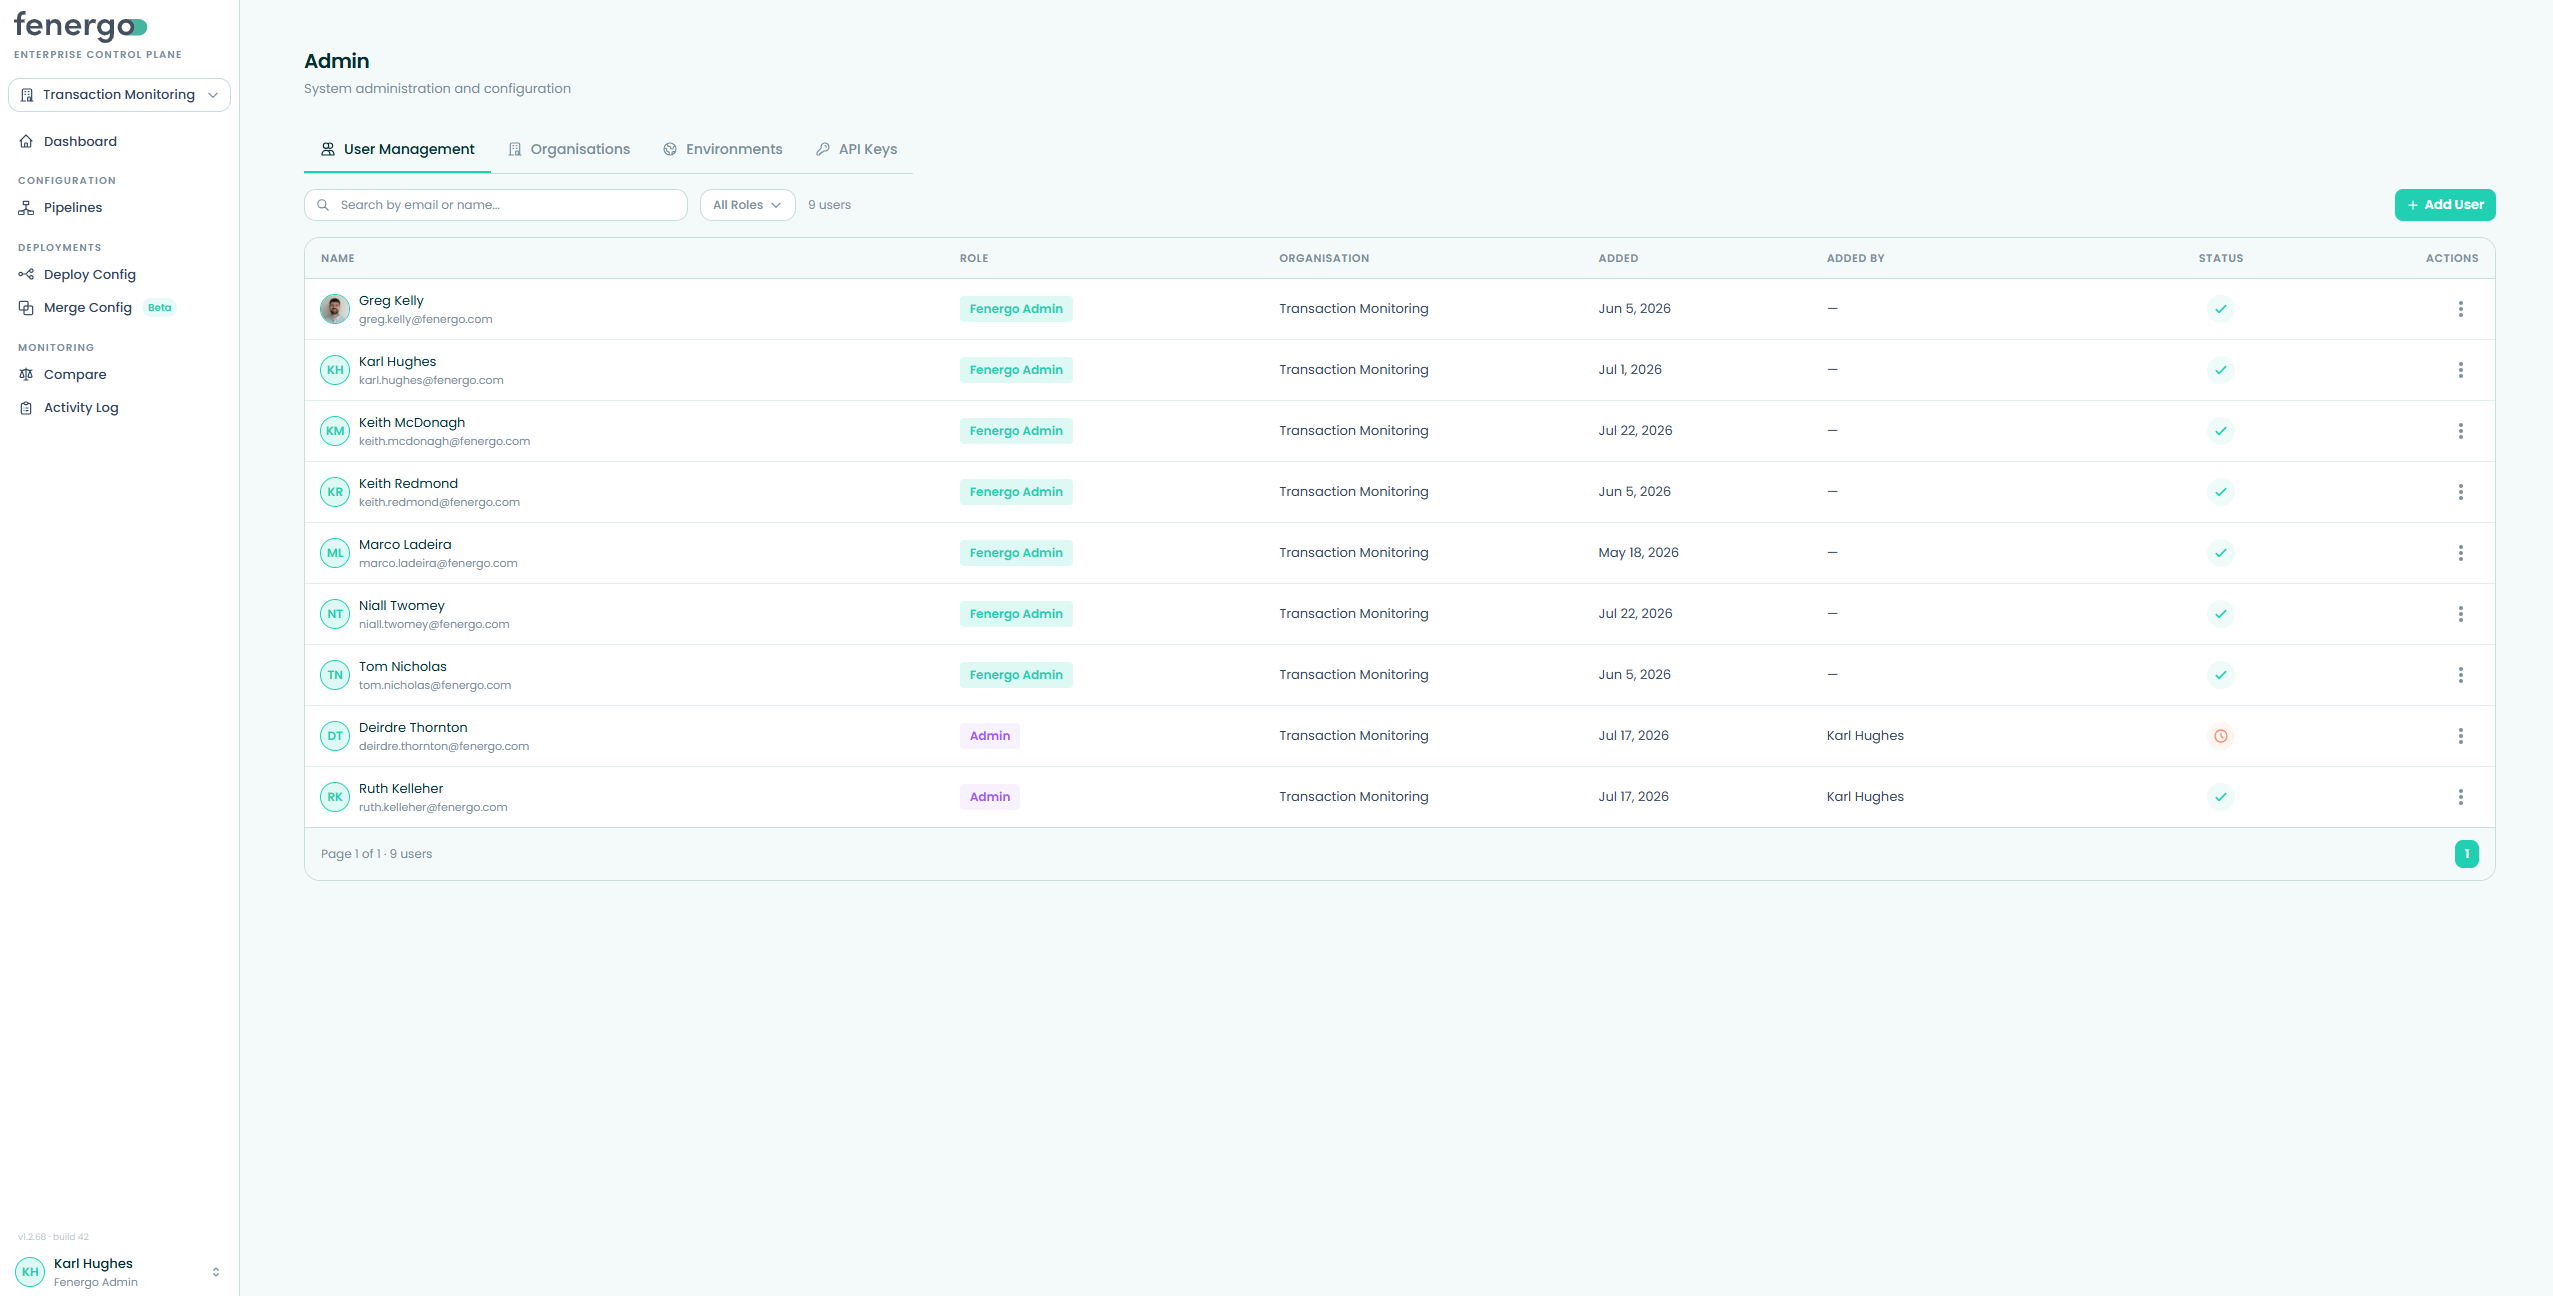
Search by email address or display name, and filter by role.
Inviting a user
In ECP, adding a user is the invitation — there's no separate invite step. When you add a user, ECP creates their account and emails them a secure link to set a password.
- Choose Add user.
- Enter the user's email and display name, then choose a role: Member or Admin.
- Save to create the account and send the invitation email.
A new Admin is automatically granted access to every deployment pipeline in the organisation; a Member starts with none until you grant it.
The "set your password" link is valid for 72 hours. If it lapses before the user signs in, use Resend invitation to issue a fresh link.
Pending vs Active
- Pending (clock icon) — invited but not yet signed in. Only pending users show the Resend invitation action.
- Active (check icon) — has signed in at least once.
A user moves from Pending to Active on first sign-in. Each resend issues a new link and cancels the previous one.
Managing deployment pipeline access
Choose Manage access for a user to open the access modal. It lists existing grants and a picker for granting additional non-archived pipelines. When you grant a pipeline to a user who has already signed in, ECP emails them. Pending users see their pipelines on first sign-in.
Use Revoke on a grant to remove access. ECP asks you to confirm; revoking doesn't send an email.
Email delivery is best-effort — if a welcome email fails, the account is still created. Re-adding a previously removed user reuses their record but doesn't restore old pipeline access; grant it again.
Organisations
Fenergo Admin only.
The Organisations tab lists all organisations in ECP. Each row shows the organisation name, user count, pipeline count, tenant count, environment count, creation date and creator. Use the search bar to filter by name.
Creating an organisation
Choose Add Organisation, enter a name, and save.
Managing users in an organisation
Open the actions menu on a row and choose Manage users. The modal lists current members and lets you search for and add existing ECP users. Use the remove button on a member row to remove them — if the user belongs to only one organisation, they are fully removed from it.
Managing environment visibility
Open the actions menu and choose View environments to see which environments are granted to the organisation. Search to add environments or remove existing grants. You can also manage visibility from the Environments tab — both views are equivalent.
Editing or deleting an organisation
Use Edit to rename. Delete is only available for organisations with no users and no deployment pipelines — ECP blocks deletion and reports counts if either constraint is unmet.
Environments
Fenergo Admin only.
An environment is a registered connection to a Fenergo platform region — a named API target with a base URL. Every tenant is bound to one environment, which provides the Fenergo API address and identity endpoint used for all config pulls and pushes. Environments are distinct from pipeline stages: the environment is where a tenant physically lives; the stage is its logical position in a pipeline.
Users only see environments explicitly granted to their organisation — DCI (Dedicated Customer Instance) environments are always restricted and never appear without an explicit grant.
The catalogue
Each environment has a Name, Main Region, URL (https://… address), DCI flag, and Status (Active or Inactive). ECP derives the identity endpoint and API address from the URL automatically. Inactive environments remain in the list but cannot be selected.
Adding an environment
- Choose Add Environment.
- Enter a Name, Main Region, and URL (must use a
fenergonebula.com,fenxstable.com, orfenergox.comdomain). - Turn on DCI if this is a Dedicated Customer Instance.
- Save. Both the name and URL must be unique.
Editing & deactivating
Edit reopens the modal pre-filled; changing the URL re-derives the identity endpoint. Deactivate retires an environment (record and history are kept). You can't deactivate an environment while active tenants reference it — ECP reports how many are affected.
Organisation visibility
Choose Manage Visibility on a row to grant or revoke an organisation's access. With no grants, users see no environments when registering tenants.
API Keys
The API Keys tab gives Admins an overview of all users in the organisation and their active key status. Each row shows the user's name, key label, masked key ID, creation time, and last-used time. Use View Key History on a user row to see the full key history including revoked keys.
To create or revoke your own key, see Profile → API Keys tab above.